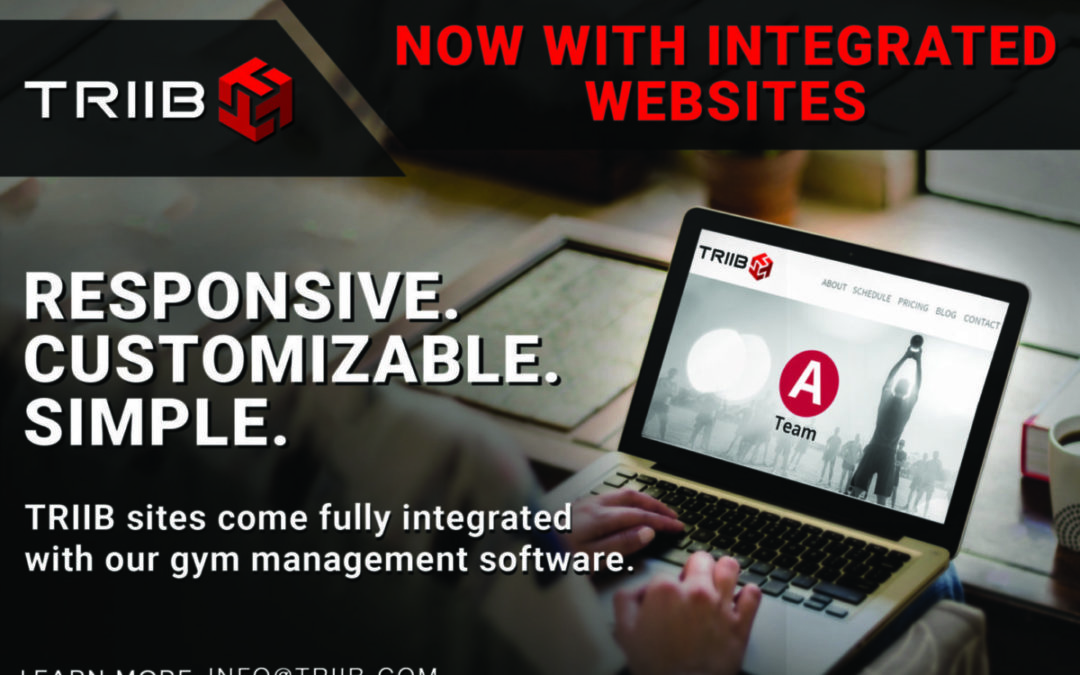
This Friday, January 6th, 2017, TRIIB is excited to offer Integrated Websites with our all-new Premium offering! Our new Integrated Site feature that comes with TRIIB Premium, allows you the ability to take full advantage of all of our TRIIB Standard gym membership tools, as well as, these new management ones to grow and expand your business such as:
- Customizable mobile responsive pages that match your brands look & feel
- Simple content management tools which allow you to edit, add and update your own website copy & content
- Promote your business with your own custom profile pages
- SEO tools to increase your website’s visibility on search engines
- Use your own domain name or opt for a TRIIB one
How our TRIIB sites work?
Our user-friendly content management system found in your admin allows you to configure additional pages for your site like: a Homepage, About Us, Our Philosophy, FAQ, and a Team page. If you are already have TRIIB Standard, then you will still have access to your Events, Blog, and Schedule pages.
Content Management – You control the content yourself via the content management system we built which is found under Design Settings. This system allows you the ability to edit & add your own copy, images and even videos to your pre-formatted template pages. Below is an image of your Dashboard which shows that your Premium Features are enabled which allows you the ability to add and configure your new pages.

Design General Settings– These allow you to choose which pages you want to display on your public facing site, the ability to add your logo and select a theme color for your site. The theme color you select will be used for any call to action buttons you set up and it will be the highlighted color when a user scrolls over any of your menu items (About Us, Blog tabs etc.) In the image below, you will clearly see this is where you select the Premium pages you want, as well as, add copy if you want to put text in your Footer. As you can see adding text as well as images in the Footer content box is very user-friendly. Simply click in the box and start typing the info you want to display. You can bold the copy if you want, italicize it, align it how you want (left, center, right), change the font, size, color and back color. You can also add links, images and even a video.

Footer Settings – At the bottom of the General Settings control page, you will see that you have some options to select what background color, text color, and font you want for your Footer. You can also add your logo to your TV Screen in your gym if you desire by simply uploading it. Finally, you will see at the very bottom is the all important Update Settings green button which you will need to always click every time you make an update to one of your settings. **Please note – if you DONT click this green Update Settings button then your changes won’t be visible on your site.**

Design Pages – Under this tab is where you can select which pages you want to configure. Just click on the green Configure Page button to start designing the page you want.

Design Settings > Design Page > Homepage – If you select the Design Page tab under Design Settings and then click the Configure button for the Homepage, you will see that you have many options to choose from to design your page. You will see that there are mainly just a few items to configure on this page: a Slider Background Image, 3 Slider Images and accompanying text if you choose, Main page text, and 3 Service description blocks. Each of these options will allow you to customize the look and feel of this page with your brand.
Slider Background Image – to add this, simply click on the Choose File button and then you will be able to upload the file image you want. Please note that having a background image is required.
Slider Images – To add a Slider Image, simply click on the Choose File button and upload the image you want. This image will appear in the middle of the Slider Background Image that you chose. To view how these images look on this page as you are working, just click on the Design Pages tab under Design Settings and click the blue Preview button for the Landing/Index page. Another window will load and display this page on your site. Please note, that if you make additional changes to your page, just hit the refresh button in this new window which shows your site. This will save you time, so you don’t have to keep clicking back to the Design Pages tab and clicking the Preview button.

In the image below is an example of a designed Homepage with a Slider Background Slider (the black & white gym image), a Slider Image 1 (the R|A logo image dead center which is transparent), the Welcome to Real Attitude CrossFit is the Slider Image 1 – Text, the Free Trial is the Sub Text, obviously the Join Now is the Button Text, and then I copied the URL from the About Us page and pasted it into the Slider Image 1 – Button Link. Finally to make these changes live, I clicked on the Update Settings button at the bottom.

Service Blocks – As you can see in the image above, there are 3 Service Blocks: Our Box, Class Schedule, and Our Philosophy. To add and configure these on your Homepage, simply select the icon you want for each box, then the Header Text, the text for the button and finally insert the link where you want your visitors to go to when they click on this button. As you can also see each button is blue because I have selected the background theme color to be blue under the Design General Settings. In the image below, you can see the options you can use for each Services Block you want.

Configure Contact Page – In the image below is an example of how you can configure your Contact Page if you add text in the main text box, and select the Show Email Address, Map, Phone Number, and Business Hours options. As you can see in this image we have added a Captcha for this page to save you from spam.

FAQs Page – To configure your FAQs page, simply click on FAQs under the main Design Settings tab and then click on the green plus button to add an FAQ. In the image below you will see what appears next. This is where you can start filling in each FAQ and select the order for each.

In the image below you will that as you start making your FAQs, they will be displayed clearly for you which helps you with this overall FAQ process.

The image below shows an example of a live FAQs page. Please note that a user has to click on one of the FAQ questions for the answer to appear.

SEO Settings – In the image below is a view of items you can add to improve your SEO rank. The Description meta tag is a very important piece of information to provide for search engines, so be sure to fill this in. This Description is actually what shows up for your site on Google’s search results page. As you can also see below, you can add some of your social media info as well.

Domain & Hosting – You have the option to use your own custom domain (example: www.yourgym.com) or you can opt for a TRIIB domain (yourgym.triibstage.wpengine.com). We assume that you will most likely already have your own email address. We host the site on our servers and can point your domain name to our servers which allows you to utilize your own domain name.
Better manage and grow your business with our Integrated Website option. Please note that we will be adding more custom features to our sites and pages in 2017, but we strongly feel that this new current option will be very appealing and satisfying. Our new TRIIB Premium option will allow you to have a TRIIB customizable website that fully integrates with our gym management software. This combo of marketing and business management tools provides you with a complete solution, making it easier for box owners like yourself to operate and maintain a professional website designed to attract and retain customers.
Interested in learning more about our new site feature? Schedule a live demo with one of our sales associates at sales@triib.com.


